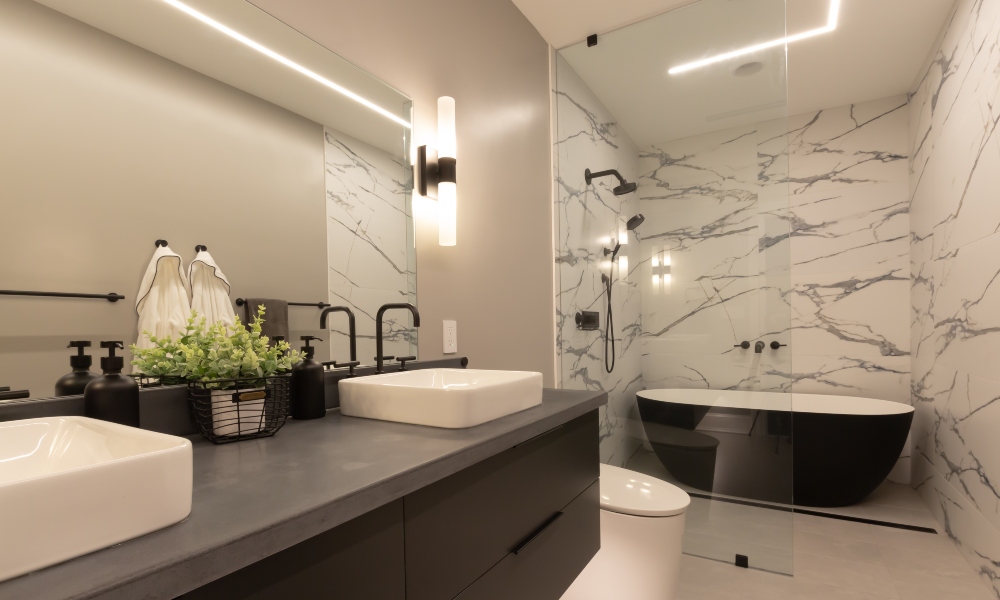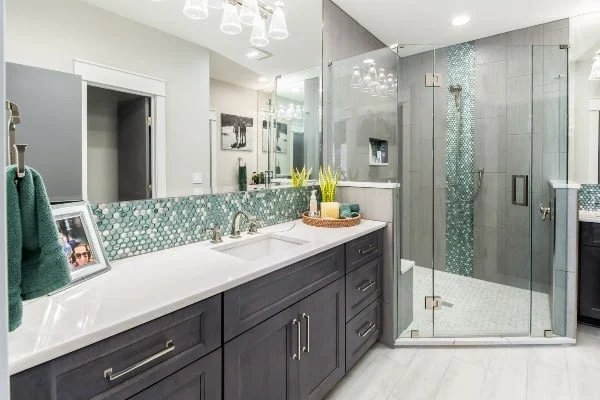
Step 1: Assess Your Space and Set Clear Goals
Every small bathroom remodel starts with a solid assessment. Measure your space carefully, noting every inch of available room. Then, define your priorities:
- Are you aiming for more storage?
- Do you want a more modern aesthetic?
- Is improving functionality the top goal?
Create a list of must-haves and nice-to-haves to guide your planning.
Analytical Insight: “In small spaces, every square inch must serve a purpose. Clarity on goals prevents costly mid-project changes.”
Step 2: Set a Realistic Budget
Small spaces don’t always mean small costs. Break your budget down into categories:
- Fixtures: Sink, toilet, shower, and tub
- Surfaces: Tiles, flooring, countertops
- Labor: Installation, plumbing, electrical
- Unexpected Costs: Always reserve 10-15% for surprises
If your budget is tight, prioritize investments in high-impact areas like quality fixtures and durable materials.
Analytical Insight: “Spending more on foundational elements ensures long-term durability and prevents costly repairs.”
Step 3: Choose Space-Saving Fixtures and Storage Solutions

Maximizing a compact bathroom upgrade is all about efficiency.
- Wall-mounted vanities: Free up floor space and create a modern look.
- Floating shelves: Utilize vertical space for towels and toiletries.
- Pocket doors: Save space compared to traditional swing doors.
For storage, consider built-in niches in the shower and recessed medicine cabinets.
Analytical Insight: “Strategic fixture choices can add up to 30% more functional space without changing the room’s dimensions.”
Step 4: Plan Your Layout Carefully
The layout is the backbone of any small bathroom renovation. Start with these core principles:
- Keep plumbing locations consistent to reduce costs.
- Ensure the toilet, sink, and shower don’t obstruct one another.
- Leave at least 24-30 inches of clear space in front of the toilet and sink for easy movement.
Use software tools or work with a designer to test layout options before finalizing plans.
Analytical Insight: “Efficient layouts minimize unnecessary traffic flow and maximize usability.”
Step 5: Select the Right Materials
In a small bathroom, materials play an oversized role in the final outcome:
- Tiles: Light-colored tiles create an open, airy feeling.
- Countertops: Quartz offers durability and water resistance.
- Glass shower enclosures: Enhance visual openness.
Avoid materials prone to mold or water damage, especially in high-moisture areas.
Analytical Insight: “Material selection directly impacts durability, maintenance, and long-term cost-efficiency.”
Step 6: Optimize Lighting and Mirrors
Lighting is often overlooked in bathroom remodels, but it’s crucial for functionality and ambiance.
- Task Lighting: Above the mirror for daily routines.
- Ambient Lighting: Ceiling fixtures or recessed lighting for overall illumination.
- Accent Lighting: To highlight design features.
Pair lighting with a large mirror to reflect light and visually double your space.
Analytical Insight: “Proper lighting not only enhances design but also improves safety and usability.”
Step 7: Decide Between DIY and Professional Help
Some tasks are perfect for DIY enthusiasts, while others demand professional expertise:
- DIY-friendly tasks: Painting, installing shelves, simple tiling.
- Hire professionals for: Plumbing, electrical work, complex tile installation.
Balancing your skill set and time constraints ensures a smoother remodel.
Analytical Insight: “Poor workmanship can lead to costly repairs later. Know when to DIY and when to call in the pros.”
Step 8: Create a Timeline and Stick to It
Remodels can quickly spiral out of control without a clear timeline.
- Break the project into manageable phases: demolition, installation, finishing touches.
- Set milestones for each stage.
- Account for delays due to material availability or contractor scheduling.
Analytical Insight: “A realistic timeline keeps costs in check and prevents mid-project frustration.”
Step 9: Final Details and Personal Touches
With the major tasks complete, it’s time for the finishing touches:
- Add soft elements like plush towels and stylish rugs.
- Incorporate plants or greenery for a fresh vibe.
- Choose coordinated accessories like soap dispensers and hardware.
These final touches bring personality and warmth to your small bathroom remodel.
Analytical Insight: “Finishing details should align with the overall design vision while enhancing functionality.”
Step 10: Conduct a Final Walkthrough
Before calling it complete:
- Inspect all fixtures and plumbing for leaks.
- Ensure tiles and grout are sealed correctly.
- Verify lighting and electrical installations are functioning properly.
Take time to admire your work and ensure every detail aligns with your vision.
Analytical Insight: “A final walkthrough prevents minor oversights from turning into long-term issues.”
Smart, Functional, and Stylish—Your New Bathroom Awaits
A small bathroom remodel isn’t just about upgrading a tiny space—it’s about maximizing every inch with purpose and intention. With David Visentin’s practical approach, this project transforms from a daunting task into a rewarding investment in your home’s functionality and style.
Whether it’s optimized layouts, clever storage solutions, or timeless materials, thoughtful planning ensures your new bathroom is not only beautiful but also built to last.
Now step in, enjoy the transformation, and let your new bathroom shine!


