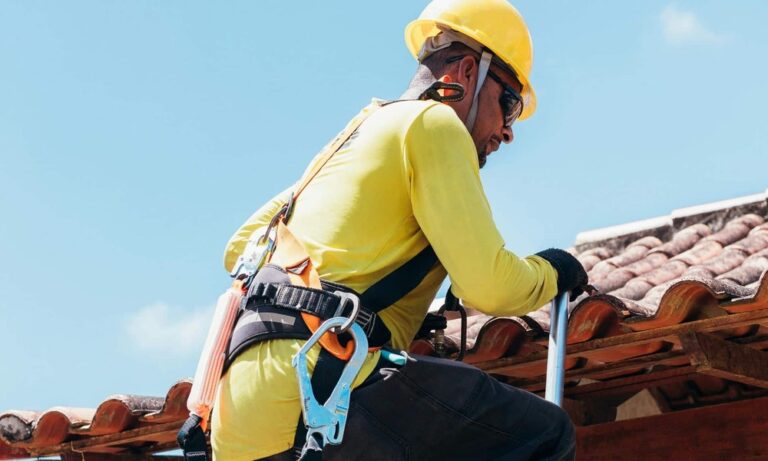
When it comes to upgrading or replacing your home’s heating and cooling system, the process of HVAC installation can feel complex. For homeowners in Troy, understanding what to expect during an HVAC installation in Troy can help make the experience smooth and stress-free. From pre-installation preparations to post-installation testing, here’s a clear timeline that explains each step of the process.
Preparation and Consultation
Before starting with the actual installation, a professional HVAC company will typically conduct a consultation. During this step, your home’s heating and cooling needs will be assessed. Professionals will inspect your current system (if one exists), measure your space, and determine the best HVAC model to maximize efficiency.
The preparation process also includes securing permits and necessary approvals if required in your area. Once everything is finalized, you’ll schedule a date for the installation process to begin. To make the most of this stage, it’s vital to plan ahead. Learn these five tips to prepare your home for HVAC installation to ensure everything is set for a seamless start.
Removal of the Old Unit (If Applicable)
If your home already has an HVAC system, the first official step of installation is removing the old unit. This involves disconnecting the components, including ductwork, thermostats, and electrical connections. Care is taken to ensure minimal disruption to your home.
Old units may also need to be disposed of in compliance with local environmental regulations. While professionals handle this aspect, you might want to clear the work area to ensure the safe and efficient removal of outdated equipment.
New Equipment Installation
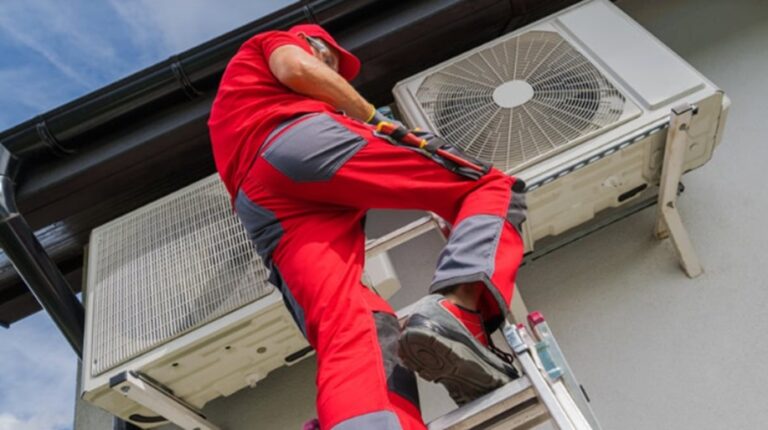
Once the old system is removed, it’s time to install the new equipment. This is the most significant phase of the timeline, as it involves setting up the central components, such as the furnace, air conditioner, ductwork, and thermostat. Depending on the complexity of your system, this step can take anywhere from one to three days.
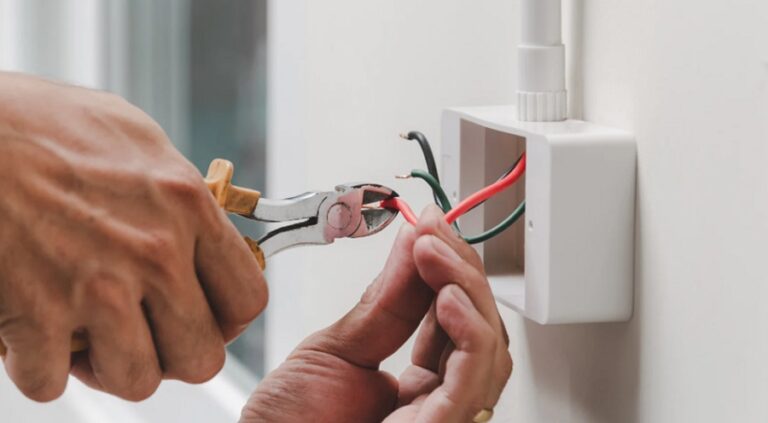
Technicians will mount and secure all equipment, ensuring proper placement for efficiency and performance. Throughout this process, they’ll also establish connections for gas, electricity, and ventilation systems. Proper installation at this stage ensures your HVAC system operates at peak performance.
Ductwork and Ventilation Checks
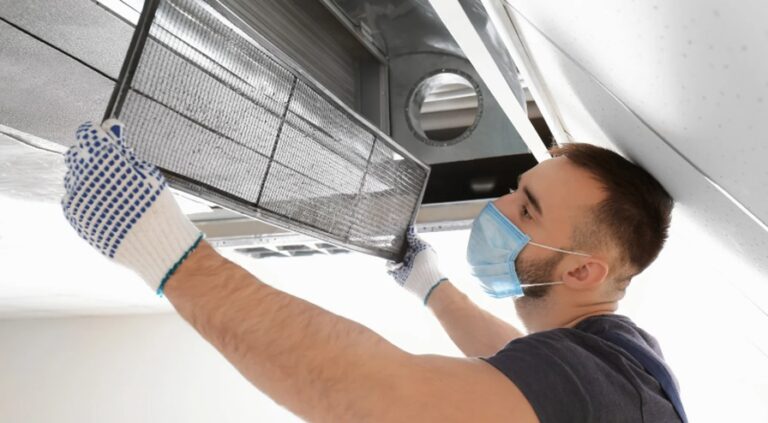
If your home requires a new duct system, technicians will install or update it during this phase. Ductwork is crucial for delivering conditioned air throughout your home. Any leaks or improper connections could impact your system’s efficiency, so this stage requires careful attention.
Technicians will inspect homes with existing ductwork for issues and make necessary adjustments or repairs. They will also check vents and registers for proper airflow distribution.
System Testing and Calibration
Once all components are installed, the system needs thorough testing and calibration. Technicians will check each element of the HVAC system to ensure it meets the manufacturer’s standards and operates efficiently in your home. This includes tasks like measuring refrigerant levels, testing airflow, and ensuring thermostats are properly programmed.
During this stage, technicians will address any hiccups and fine-tune the system for optimal performance. Testing ensures your HVAC system is fully functional and ready to maintain a comfortable environment in your home.
Post-Installation Guidelines
After the installation is successful, your HVAC contractor will guide you on how to operate and maintain your new system. They’ll offer insights on using the thermostat, setting energy-efficient temperatures, and scheduling routine maintenance. Regular HVAC servicing is crucial to keep your system running efficiently and to prevent costly repairs in the future.
A system that is well-maintained not only performs better but also lasts longer. Understanding the importance of regular HVAC servicing can help homeowners save time and money in the long run.
Cleanup and Final Walkthrough
Professional HVAC installers will ensure that your home looks just as it did before the installation process began. They’ll clear away debris, clean work areas, and ensure that all tools and materials are removed. Once this is complete, you’ll have a final walkthrough with your technician to review the work.
This is the time to ask any last-minute questions and ensure you’re satisfied with the installation.
Timeline Summary
On average, a standard HVAC installation job takes about one to three days. However, more significant installations involving ductwork or additional components can take longer. A professional contractor will provide a timeline tailored to your specific project, giving you clear expectations from start to finish.
Conclusion
Installing a new HVAC system is a significant investment, but with the right approach and professional guidance, the process can be straightforward. Understanding the timeline ensures you’re ready for each stage. From pre-installation planning to post-installation care, every step is designed to maximize comfort and energy efficiency in your home. By properly preparing your home and prioritizing regular servicing, you can ensure your HVAC system performs at its best for years to come.

